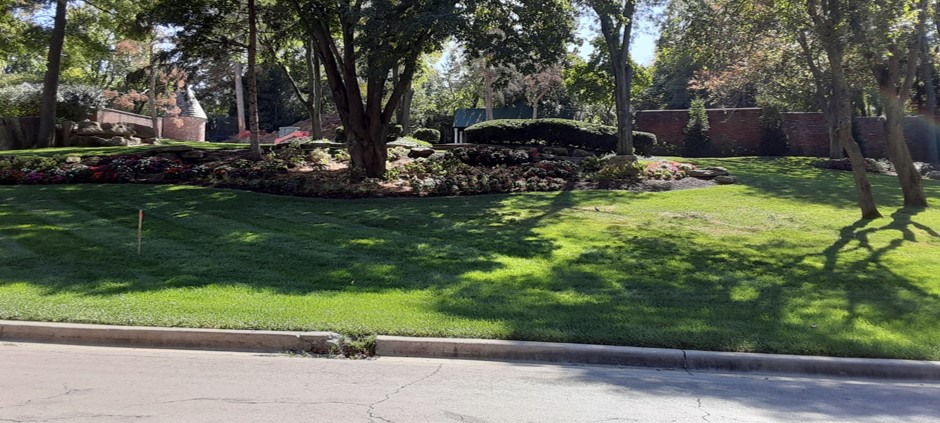
Everybody loves the idea of a secret garden, but I’m not exactly sure what one is. What makes a garden secret? How is that different from private? My husband says ours is almost a secret garden because it’s in back and passers-by don’t realize we have such a profusion of flowers and wildlife back here. That’s about to change, though. My October project was digging up a new bed in front. I imagined a relatively formal border of native plants beside our driveway, something like this.
My bed ended up being…different. Shorter. I ordered plants from the Missouri Prairie Foundation’s September 17 native plant sale at the Anita Gorman Discovery Center. Here is what I ordered.
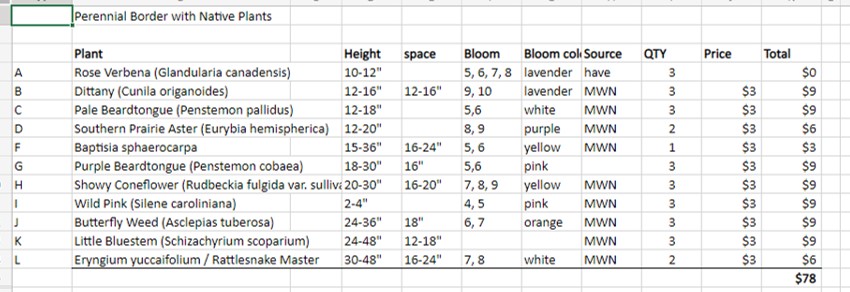
Yes, I did put them into a spreadsheet. Several vendors were selling at the sale, but this time I ordered everything from Missouri Wildflowers Nursery.
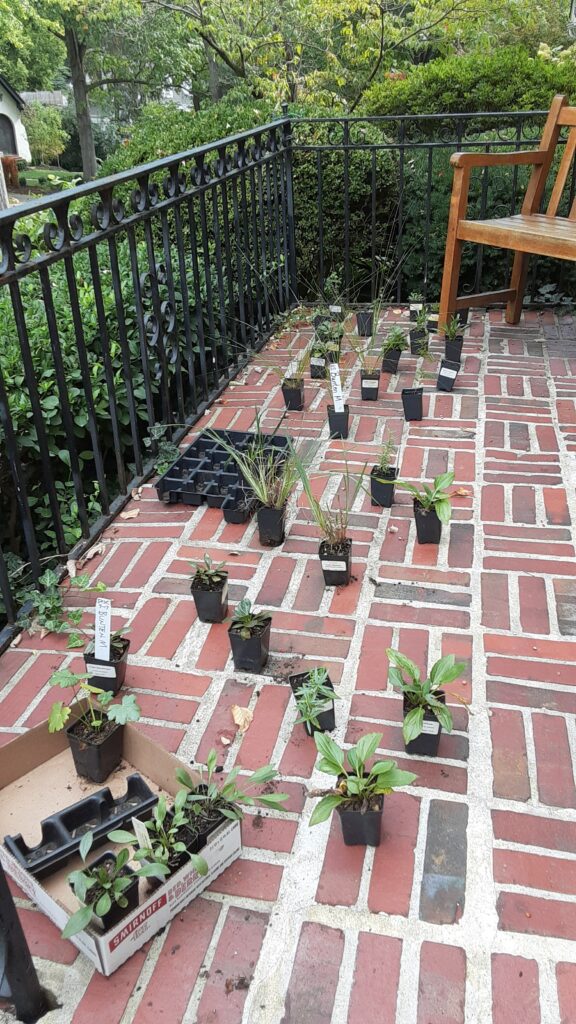
After I picked up my order, I spread the plants out on my porch to get an idea of what they’d look like. They’re small now but won’t stay that way.
Here comes the how-to portion of the post. This article from Fine Gardening does a good job describing some basic ways to prepare a new bed: digging, tilling, smothering, and spraying. Basically, I’m just going to repeat what it says.
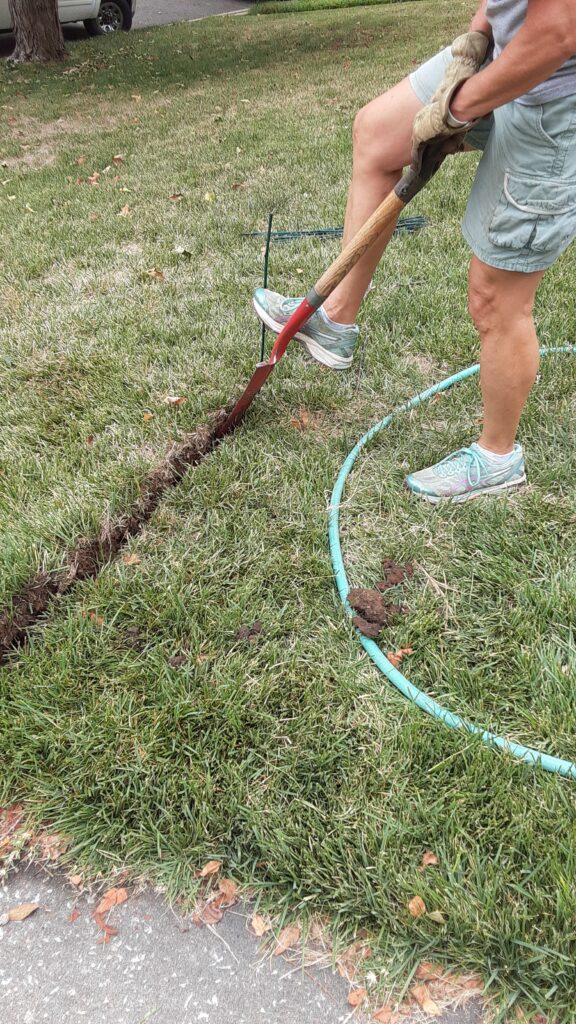
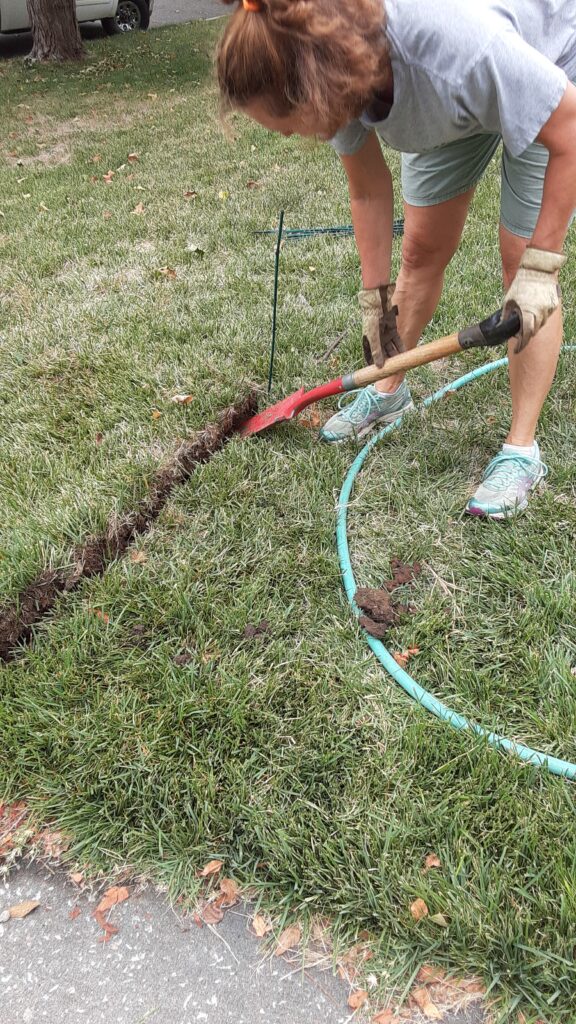
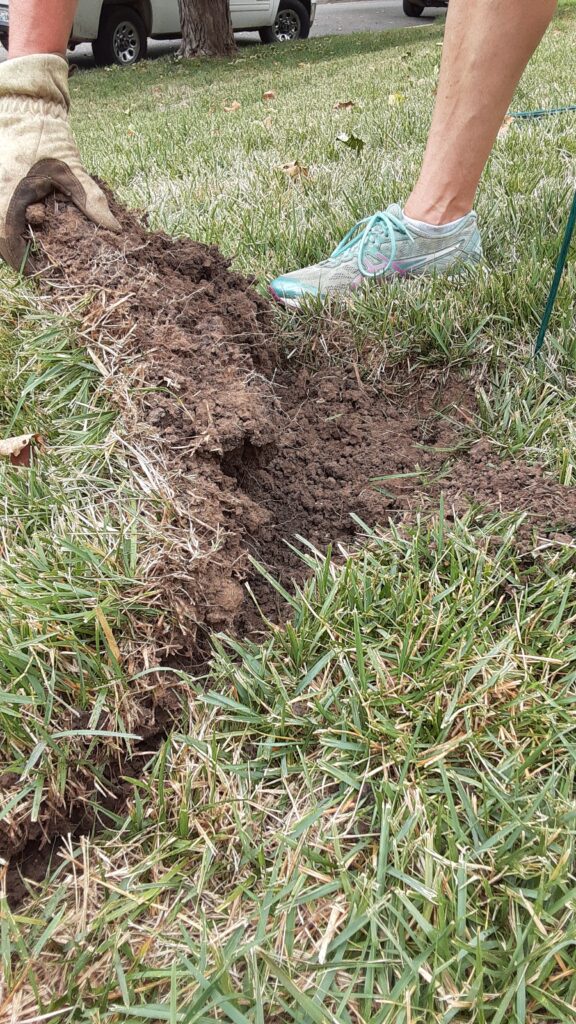
Digging (slicing and loosening) is what I did. It’s the fastest way to prepare a new bed, but it’s hard work. Before you start, water the area. (This tip proved invaluable. I wouldn’t have been able to dig up anything if I hadn’t done this, it’s been so dry.) Using a flat shovel or pitchfork, slice around the perimeter of a rectangle about 12 inches wide by 24 inches. Then slice horizontally with the shovel blade. Peel back the grass and dust off what dirt you can. Then lift out the strips of sod. You might be able to use them in another spot.
This method is fast—it took a couple hours—and it’s chemical-free. However, it is strenuous work.
I don’t know much about tilling, but the Fine Gardening article lists these pros and cons:
| Pros: Retains organic matter; is quicker and easier than digging; permits immediate planting | Cons: Is difficult on rocky sites and in wet or clay soils; turns up weed seeds; propagates certain weeds |
Smothering could mean soil solarization, or simply covering the area with something to block the light. Soil solarization involves covering the ground with clear plastic. This traps heat from the sun, and can kill pathogens in the soil. However, the plastic must remain in place for four to six weeks, and the process needs to happen during a hot time of year. The location must be in full sun.
If killing turf is your main concern, not killing pathogens, try smothering the spot with cardboard, newspaper, a tarp, or even thick layer of mulch. I understand that layering on leaves or grass clippings can be helpful for areas with thin topsoil or clay. This is a long process: the turf may take six to eight weeks to die.
Spraying with glyphosate, the active ingredient in RoundUp, could be useful for large areas, but I’m determined to avoid using herbicides and so far haven’t been tempted. After spraying, the turf still needs about a week to die.
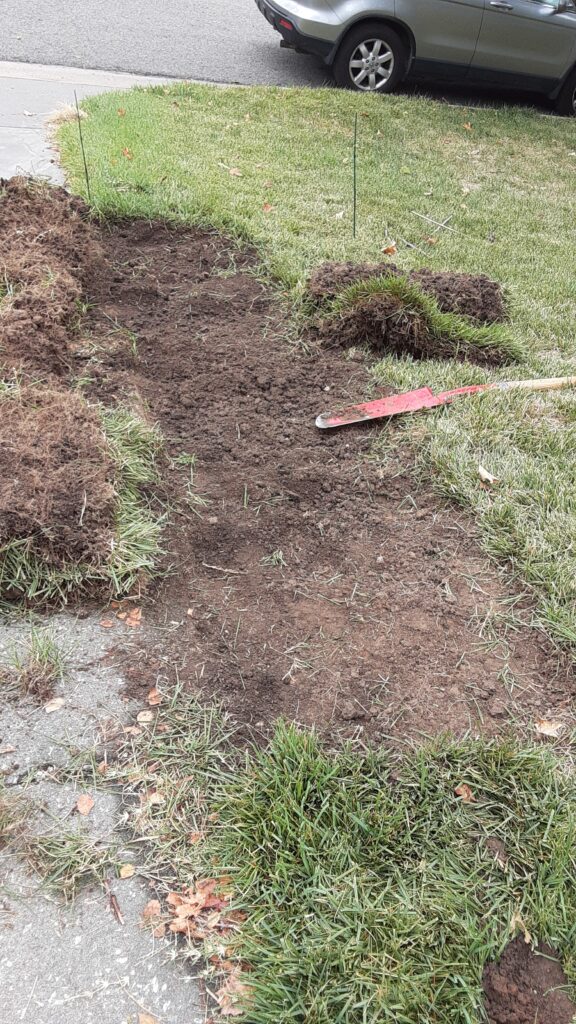
The next part of the process was the most unusual, for me.
The cleared area was a couple inches lower than the surrounding lawn. My wonderful, plant-loving neighbor Carole was moving, and gave me a wheelbarrow full of compost before she left. Composting is advanced gardening to me. I haven’t gotten the hang of it. I’ve dabbled with the idea; I have a bin full of debris that should be turning to compost, but isn’t. I’m not interested enough to investigate, plus I’m trying to follow a “know maintenance” approach, working with existing soil and conditions. And no bark mulch.
In this case, I needed a little something, so I filled the depression with my friend’s compost. It needed to be sieved, and she also warned it might have seeds and other things, but I didn’t listen carefully, I was too busy pushing clods through a piece of hardware cloth. I tossed out a few potatoes and pieces of plastic bags and spread it over my new bed.

Voilà. I made an edge out of some pavers I found lying around, put in the plants, watered once a day for a while, and it’s done. The plants are still small but I’m seeing little leaves, so I think at least some of them have taken root. I do have lots of weeds, though, little sprouts of I don’t know what. The seeds must have been in the compost. But it’s not too difficult to pluck them out.
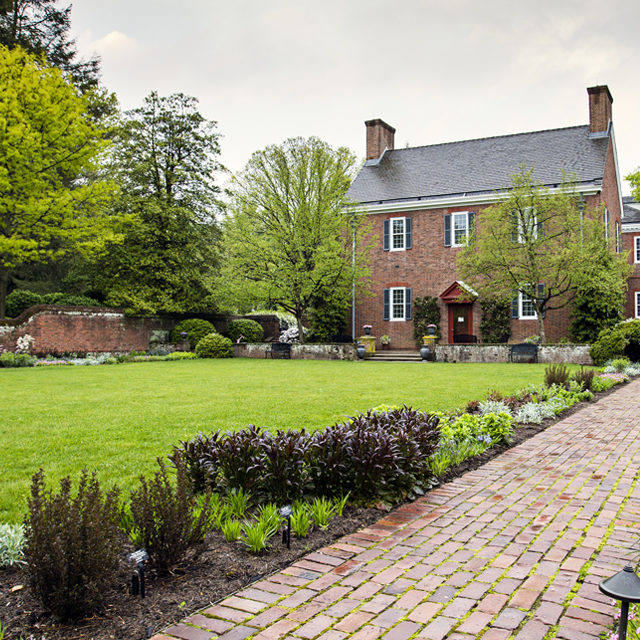
And that’s the story of my October planting I predict that I will regret placing the plants so close together. Also, the area is not a border, just a plot. But it’s a start. Next year I’d like to create a bed like this post’s featured image—along the street, beneath a tree, complete with a rock—but with natives. Small ones. I will try smothering. I have plenty of time.
Can’t wait.
By the time you read this, we’ll have had our first hard freeze, and although temperatures will climb back into the eighties on Friday and Saturday, I didn’t do anything to save my plants in pots. No covering them with sheets or dragging them inside. I’m just letting them die. We’ve had a good run. It’s a shame about the dahlias because some are just getting going.
Oh, all right. I’ll bring them in. Later in the week we’ll have a few days of warmer weather, so maybe we can coax them into final flower.
References